


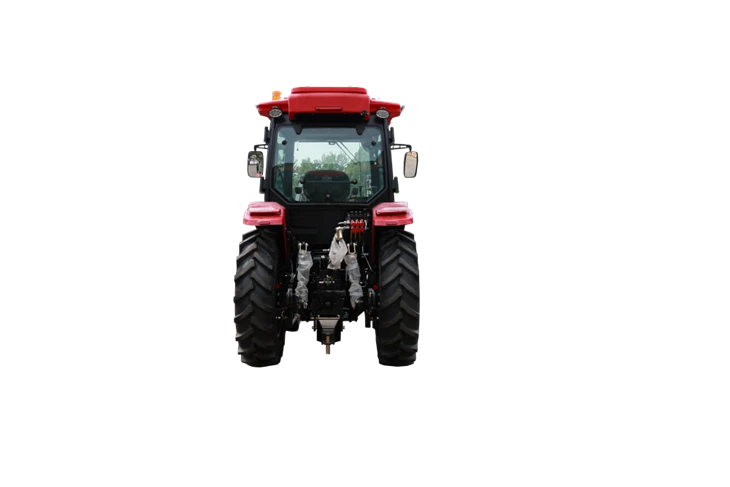
A 100 hp tractor with a front loader is a versatile and powerful machine that can greatly enhance your farming and construction operations. However, there may come a time when you need to remove and reinstall the front loader, whether it's for maintenance, repair, or to use the tractor for other tasks. In this blog post, I'll guide you through the process step by step. As a supplier of 100 hp tractors with front loaders, I have extensive experience with these machines and want to ensure you can handle this process safely and effectively.
Pre - removal Preparations
Before you start removing the front loader, safety is the top priority. Park the tractor on a flat, stable surface. Engage the parking brake and turn off the engine. Remove the key to prevent any accidental starts. Also, make sure to wear appropriate safety gear, such as safety glasses and gloves.
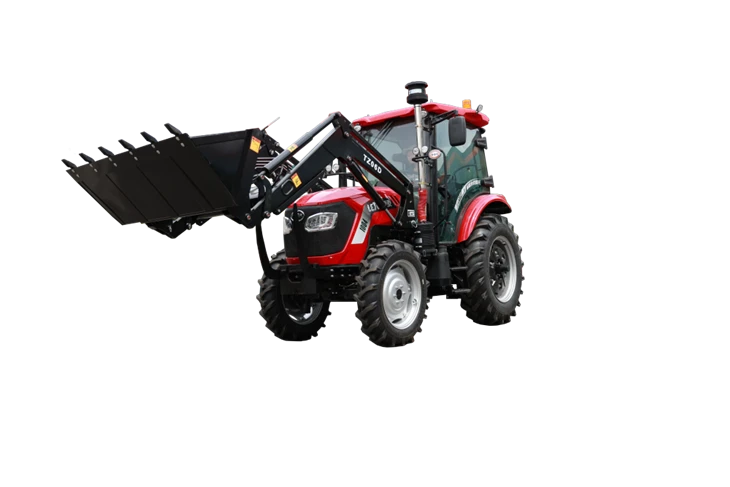
Next, you need to relieve the hydraulic pressure in the front loader system. This can usually be done by operating the loader controls to lower the bucket to the ground, then slowly cycling the lift and tilt functions a few times. This will help to release any built - up pressure in the hydraulic cylinders.
Removing the Front Loader
- Disconnect Hydraulic Hoses: Locate the hydraulic hoses that connect the front loader to the tractor. These are usually color - coded and marked for easy identification. Use a proper wrench to loosen the hose fittings. Be careful as there may still be some residual hydraulic fluid in the hoses. Place a drain pan under the fittings to catch any fluid that may spill out. Once the hoses are disconnected, cap them to prevent dirt and debris from entering.
- Remove Electrical Connections: If your front loader has any electrical connections, such as lights or sensors, gently disconnect them. Make sure to label the connections so you can easily reconnect them later.
- Detach the Loader Arms: Most front loaders are attached to the tractor using a series of pins or bolts. Locate these attachment points on the loader arms and the tractor frame. Use the appropriate tools to remove the pins or bolts. Some loaders may require a hydraulic pin puller or a large - headed hammer to tap out stubborn pins. Once all the fasteners are removed, carefully separate the loader arms from the tractor.
- Remove the Boom and Bucket: Depending on the design of your front loader, you may need to remove the boom and bucket as a unit or disassemble them further. In some cases, there may be additional pins or bolts that hold the bucket to the boom. Remove these fasteners and separate the components.
Storing the Removed Front Loader
After you've successfully removed the front loader, proper storage is important. Clean the loader thoroughly to remove dirt, grease, and any debris. This will help prevent corrosion and damage during storage. Store the loader in a dry, covered area, such as a barn or shed. If possible, support the loader on a level surface to prevent warping of the components.
Reinstalling the Front Loader
- Prepare the Loader and Tractor: Before reinstalling, inspect all the components of the front loader for any damage or wear. Replace any worn or damaged parts as necessary. Also, make sure the tractor's mounting points are clean and free of debris.
- Reattach the Loader Arms: Align the loader arms with the mounting points on the tractor frame. Insert the pins or bolts and tighten them securely. Make sure the arms are properly seated and there is no excessive play.
- Connect Electrical and Hydraulic Components: Reconnect the electrical connections according to the labels you made during removal. Then, connect the hydraulic hoses. Make sure the fittings are tightened properly to prevent leaks. Check for any signs of cross - threading or damage to the fittings.
- Re - pressurize the Hydraulic System: Start the tractor's engine and slowly cycle the loader controls to pressurize the hydraulic system. Check for any leaks in the hydraulic hoses and connections. If you notice any leaks, stop the engine immediately and tighten the fittings or replace any damaged parts.
- Test the Loader: Once the hydraulic system is pressurized and there are no leaks, test the front loader's functions. Raise and lower the bucket, tilt it forward and backward, and make sure all the movements are smooth and responsive.
Benefits of Our 100 hp Tractors with Front Loaders
As a leading supplier, our 100 hp tractors with front loaders offer numerous benefits. These machines are designed to provide high - performance and long - lasting durability. The 100 - Horse Power Tractor can significantly enhance your farming operations, as described in this article. With their powerful engines and efficient front loaders, they can handle a wide range of tasks, from moving heavy loads to clearing land.
Our 100 Horse Power Front Loader Tractors are specifically engineered to power up your productivity. You can find more details about these tractors here. They are equipped with advanced features that make them easy to operate and maintain, saving you time and money in the long run.
Moreover, we also offer tractors with specialized attachments, such as the 100HP Tractor Type Piling Rig for Pile Driving for Concrete. For more information on this unique product, visit this page.
Contact for Purchase and Discussion
If you are interested in our 100 hp tractors with front loaders or have any questions about the removal and reinstallation process, we are here to help. Whether you're a small - scale farmer or a large - scale construction contractor, our products can meet your needs. Contact us today to discuss your requirements and get a quote.
References
- Agricultural Machinery Maintenance Handbook
- Tractor Operation and Repair Manuals